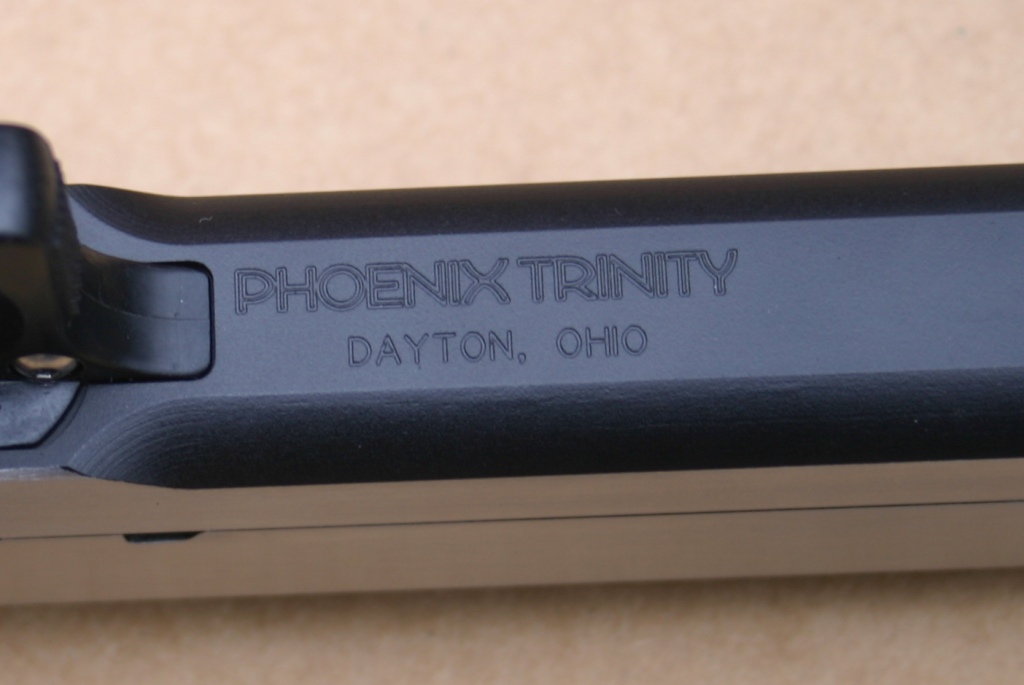
This one has been simmering on my bench for several months now as other projects came and went. I won a certificate for a free Phoenix Trinity frame at a USPSA match a while back, and decided to do it in 9mm since it's the most under-represented of my 2011 collection.
Parts list:
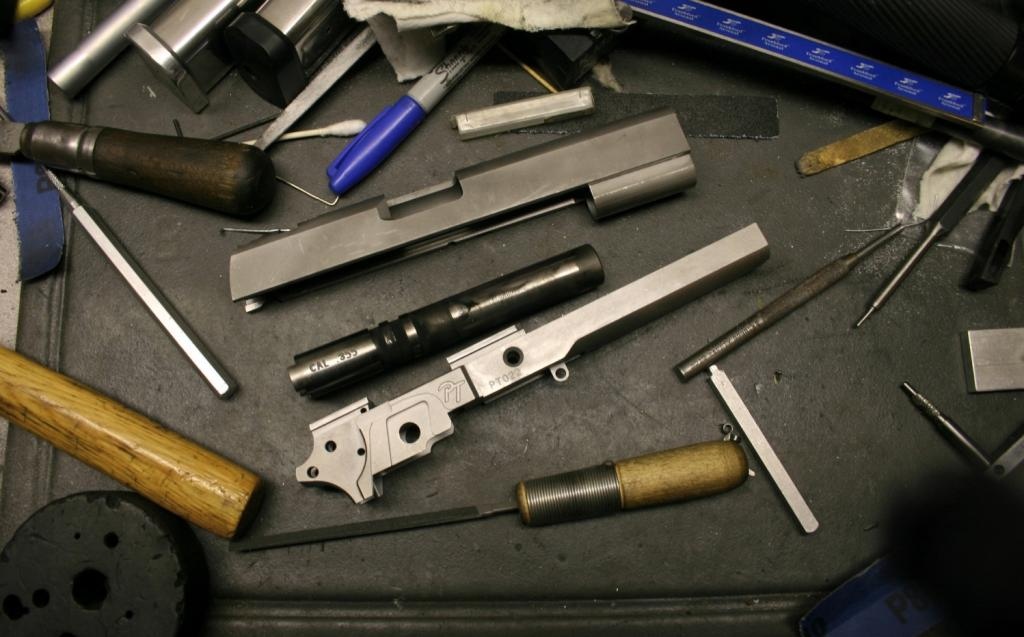
I performed all the work. This is the order I went about it:
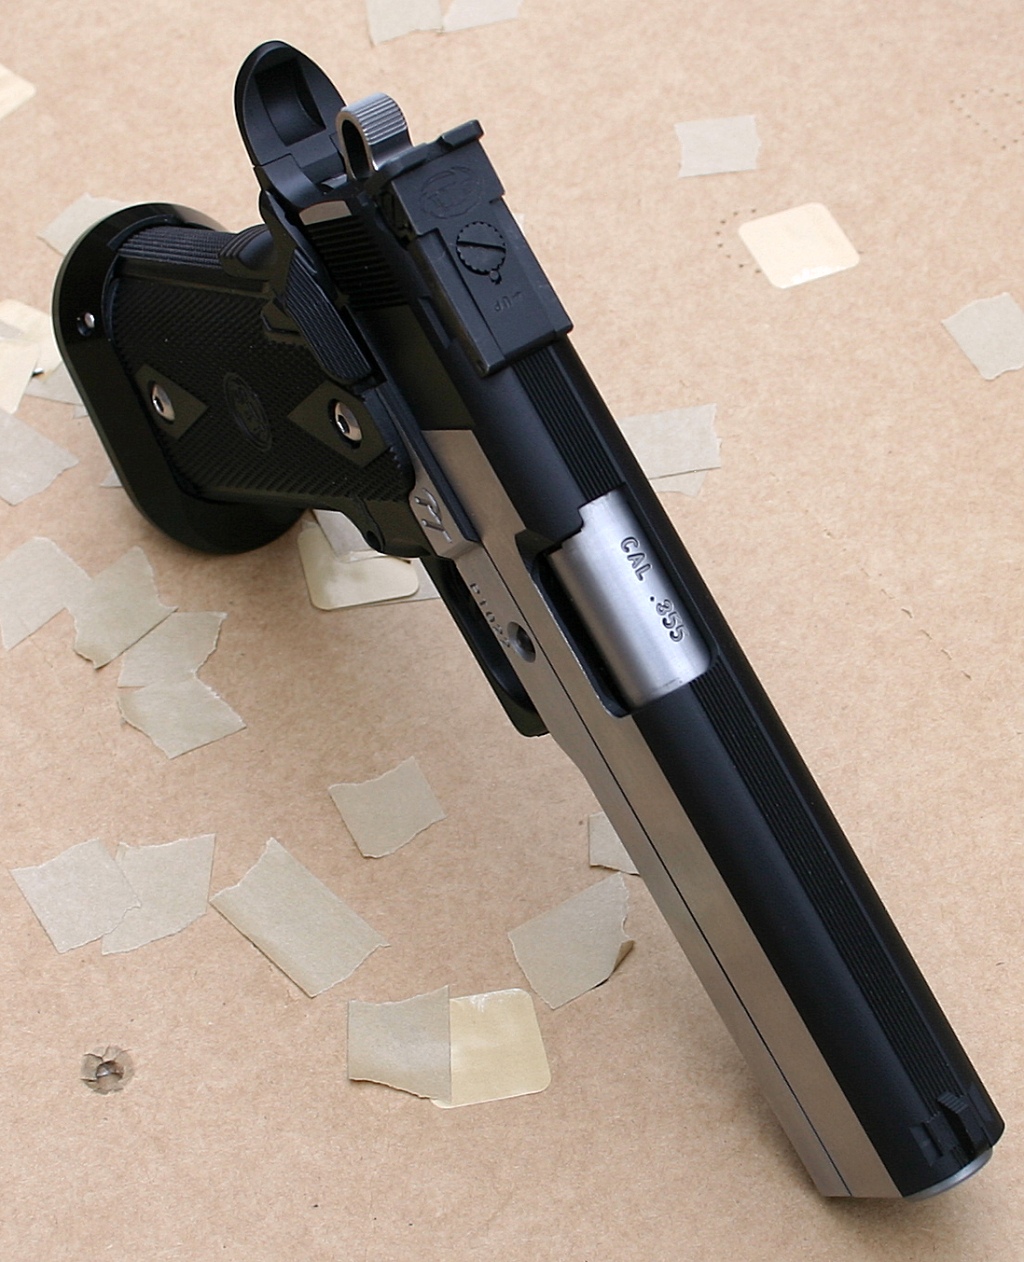
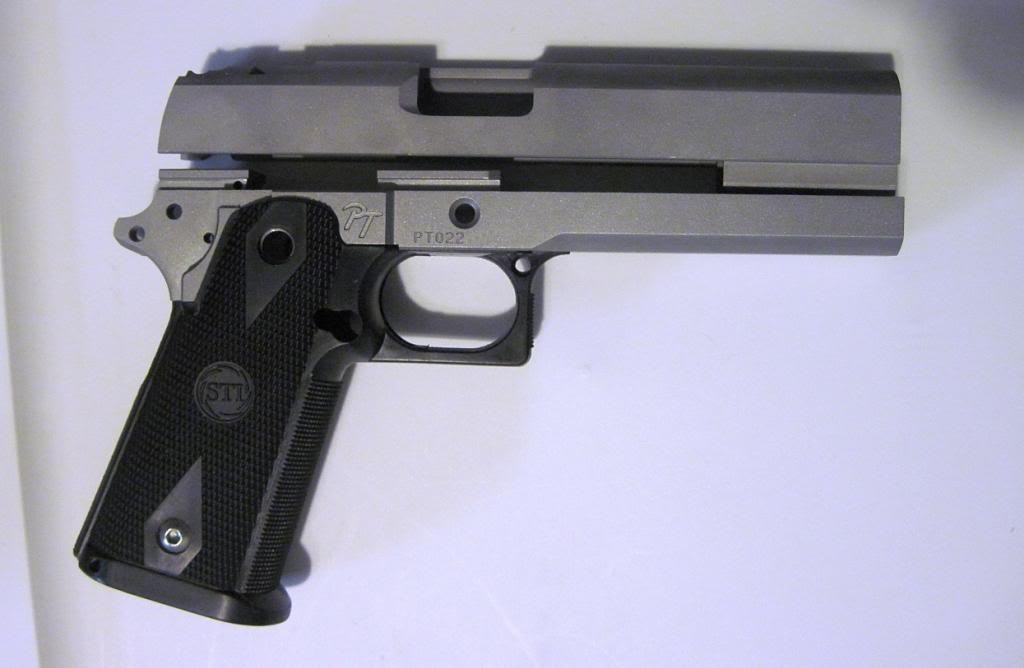
Parts out of the box
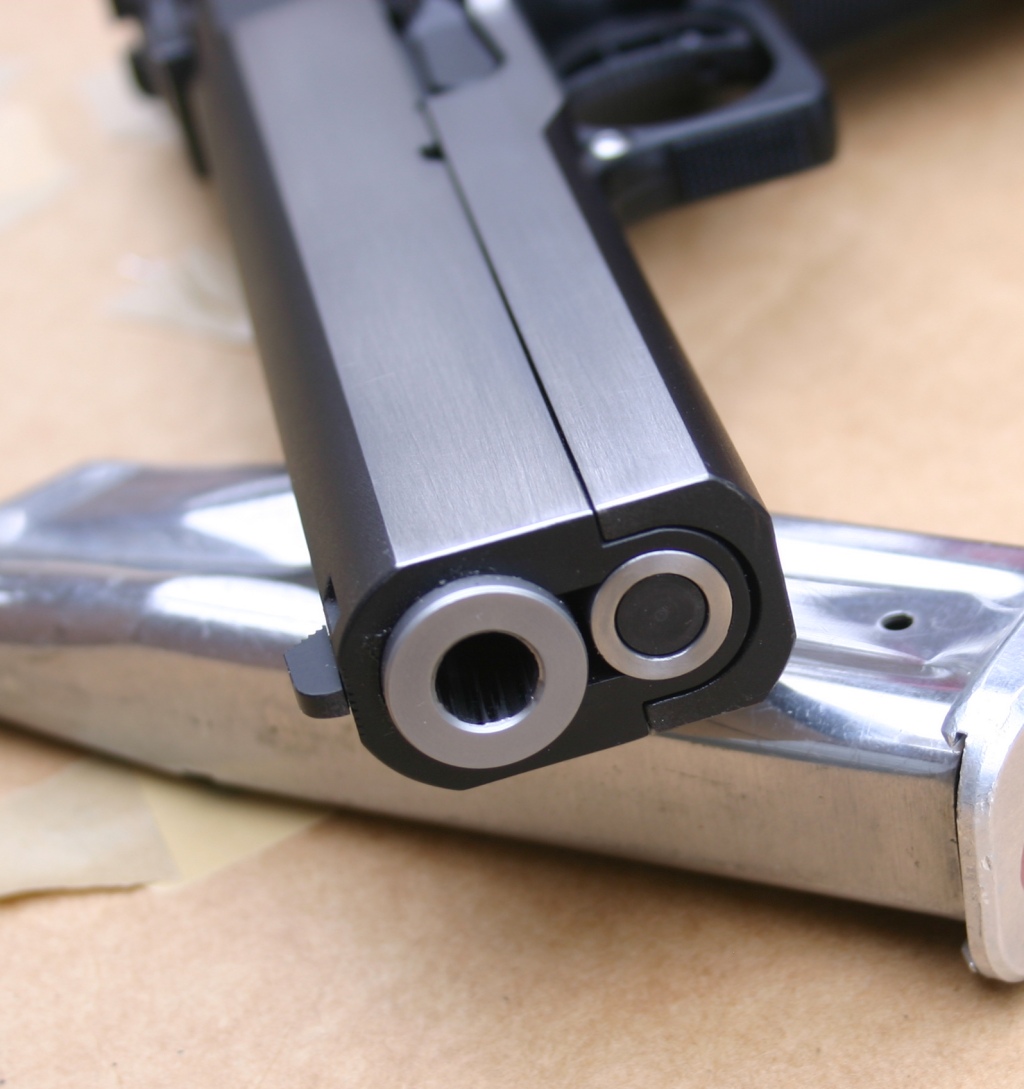
Fitting the barrel to the slide
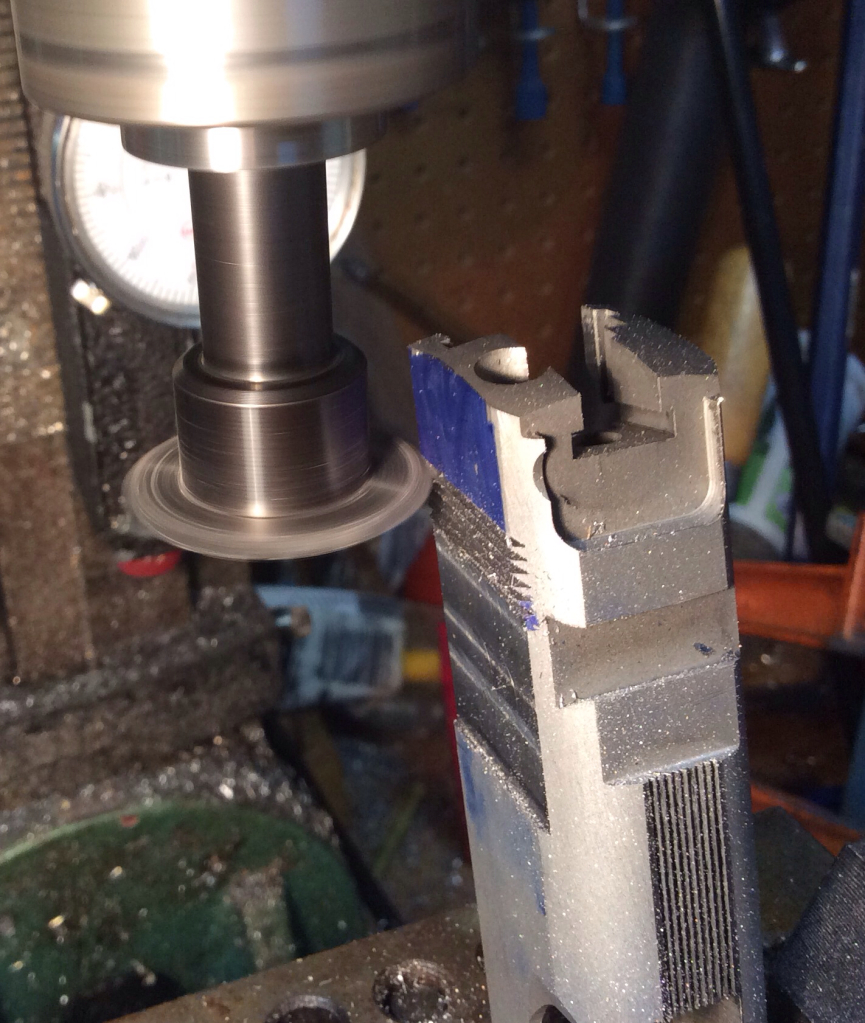
Cutting the lower lugs

Assembled with temporary safeties & slide stop

Cutting the top serrations (EGW carbide 60 degree slitting saw)
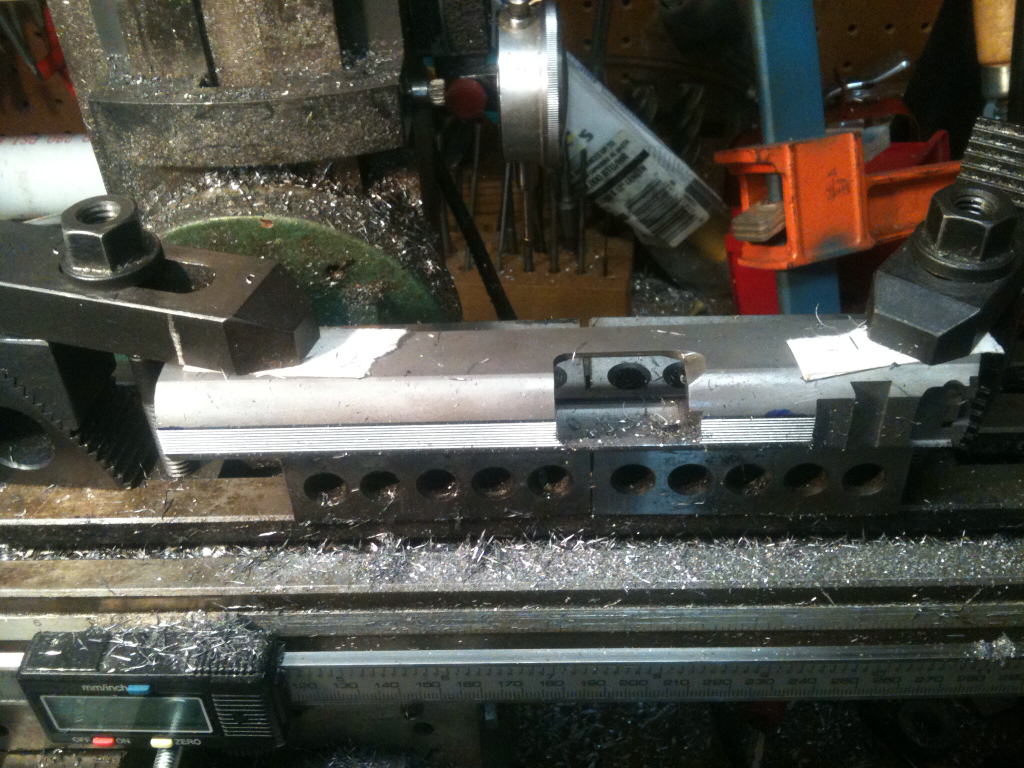
Cutting the grasping serrations (same EGW cutter)
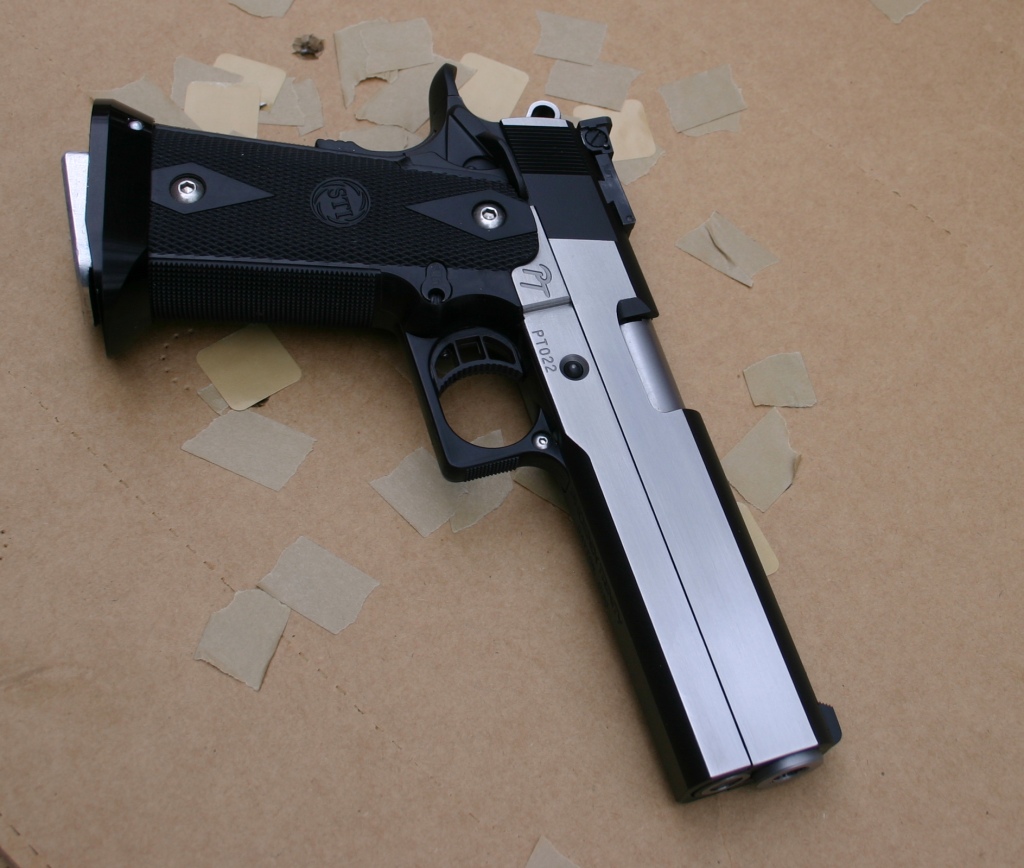
Pretty close to the SVI

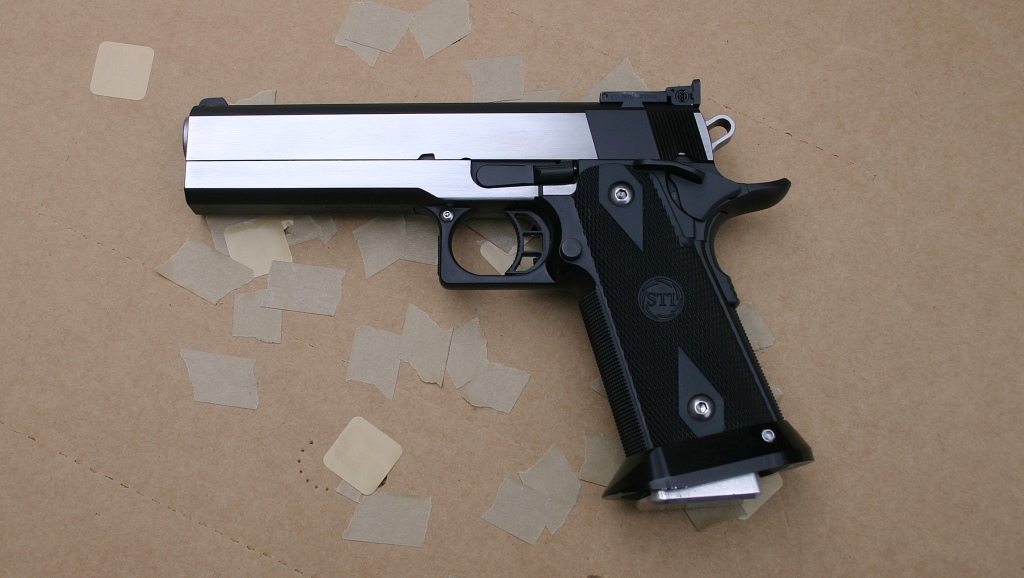
After function testing at the range

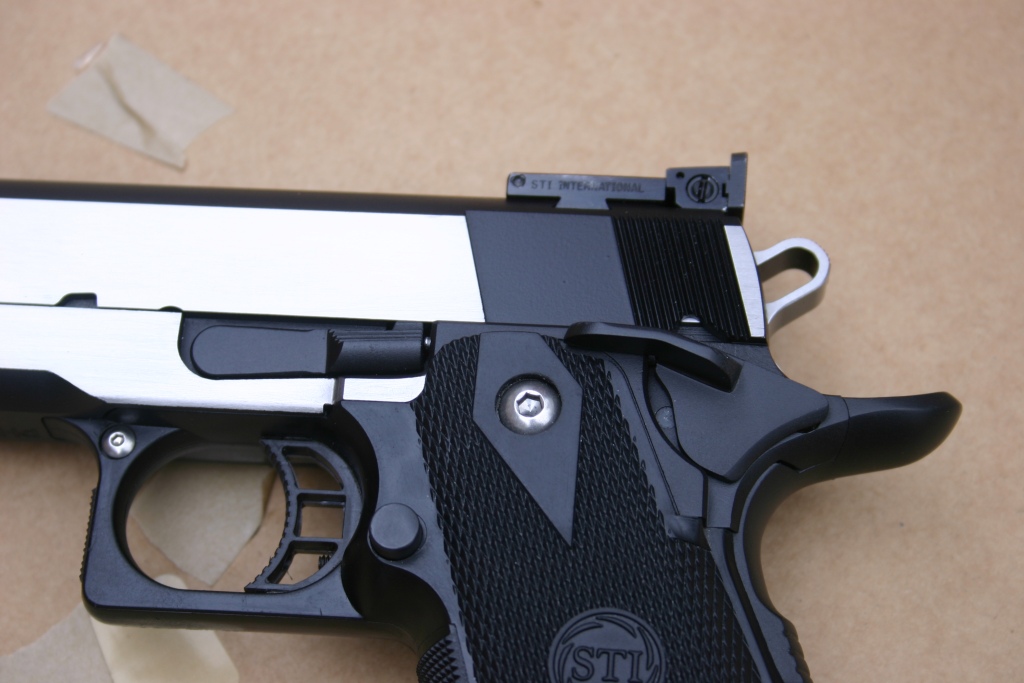
The hammer and sear pin holes were tight enough that they needed opening up a bit as well. The grip safety tangs were a bit longer than STI traditionally makes them (pre-cut for a .250 grip safety radius). This was actually OK since I prefer a tighter looking grip safety fit.
Other than that, it matched up very well with the STI slide. For the price ($200 to $300 depending on features), I think it's a good product. If they correct the dimensional errors, it will be a great product. STI charges $450 for their frame, but they do include a $100 grip frame, $30 trigger, mainspring housing, and mag catch. Still, it's nice for those of us who probably already have those parts lying around anyway (and in fact, I actually did. All I lacked was the MSH) to be able to build up a new gun without having to buy all of it.
I debated pinning the grip safety, but I figured this would see some action in 3-gun and a functional grip safety is probably a good idea there.
I've shot it briefly, enough to check function and accuracy. I have about 80 rounds through it, prior to final finishing. It seems to be quite accurate, which I'd expect since the frame and barrel are fit tighter than Dick's hatband. In fact, after Cerakoting, I had to remove the finish from some rail surfaces and the slide stop pin in order to get things moving smoothly again. I haven't benched it or put it in a Ransom rest, but freehand I was putting them into one hole on a USPSA target head at 15 yards, with no flyers I hadn't called. My 135gr lead handloads aren't the most accurate, so I may have to break out factory ammo to really put it through its paces.
When the "good weather" and "free time" curves next intersect, I'll do some more serious accuracy shooting. Thanks for looking!