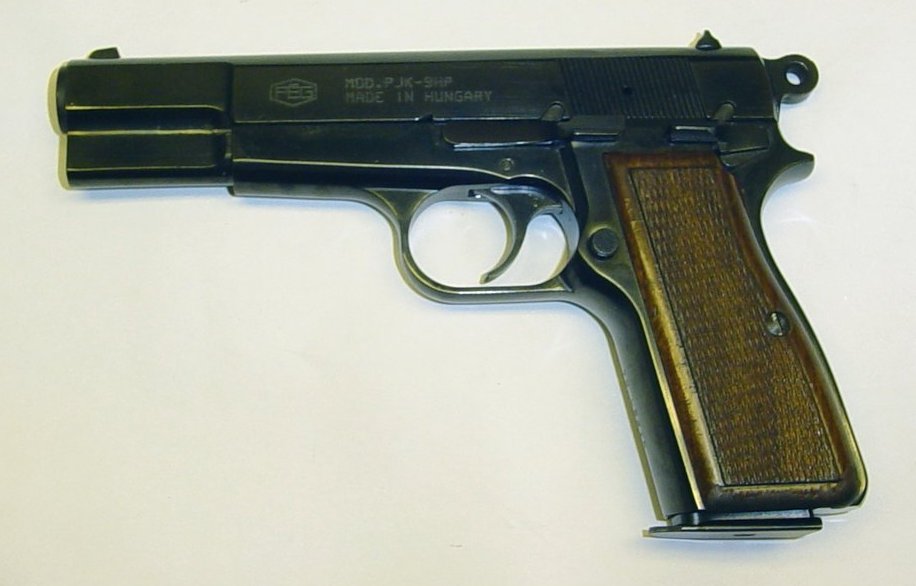
Although the gun itself was pretty solid, it was obviously lacking in refinement. The inside was covered with deep toolmarks, and the outside had been buffed within an inch of its life, taking away the rear corner of the front sight. The crown was cut unevenly, and was visibly deeper on side than the other. The grips felt like a checkered 2x4 and I immediately ditched them in favor a pair of old "real" Browning grips, as you can see here.
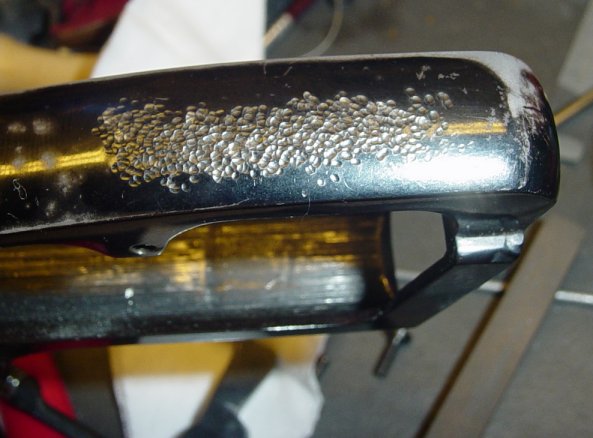
As for shooting it: the trigger pull was about fifteen pounds, it shot low and to the left even when benched, and the shape of the trigger combined with the slapback from the heavy pull would dig into my finger so painfully that I rarely shot more than two mags before quitting in disgust. The damned trigger felt like Satan's bicuspid with every shot. And the large rowel hammer would pound the web of my hand whenever I shot with my thumb on the safety -- which, since I mainly shoot 1911s, was all the time. The high polish blue finish was attractive but quite thin, and quickly wore away on the backstrap and other high-contact points.
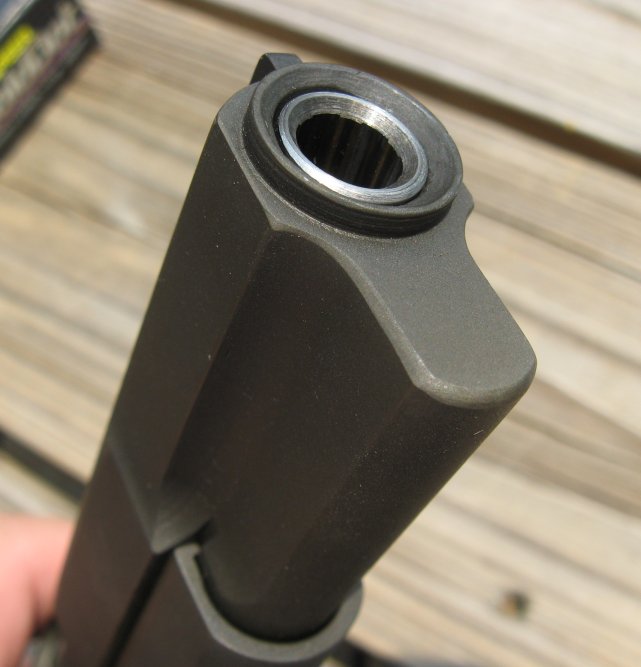
So it sat in the safe for several years, until I finally decided to improve it to the point I could shoot it. I'd actually removed the mag safety when I first bought the gun, taking the 15 pound pull down to about 10 pounds -- still quite unusable. I had also recrowned it, cutting a fairly deep recessed crown.
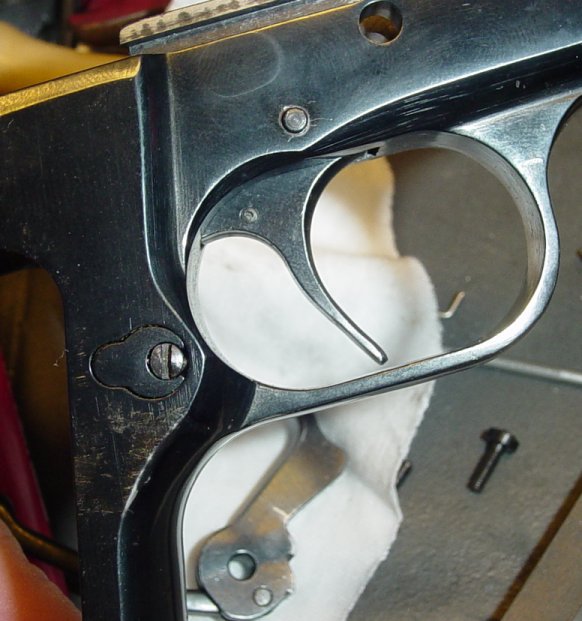
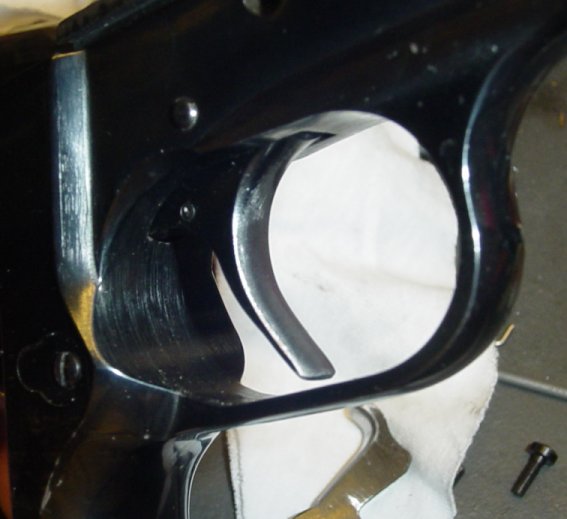
When I started working on it a few months ago, the first thing I did was yank the trigger and flatten its curve by hammering it out and reshaping the trigger face.
I replaced the ridiculously heavy mainspring with one I had in my parts bin, and stoned the hammer and sear. Adjustment of the sear spring then gave me a pull of about five pounds.
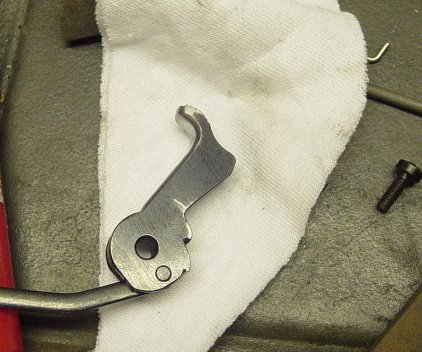
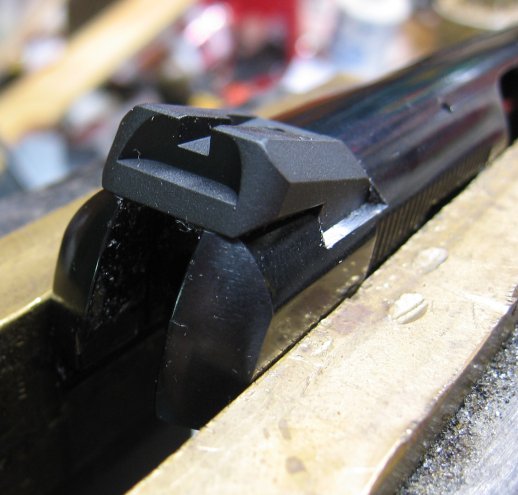
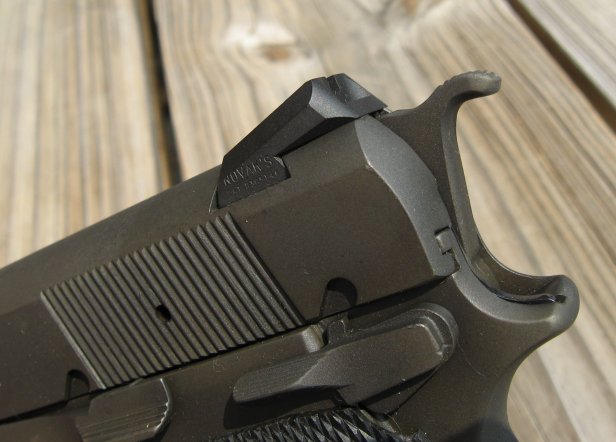
Next I bobbed the hammer Detonics-style to keep it from digging into my hand.
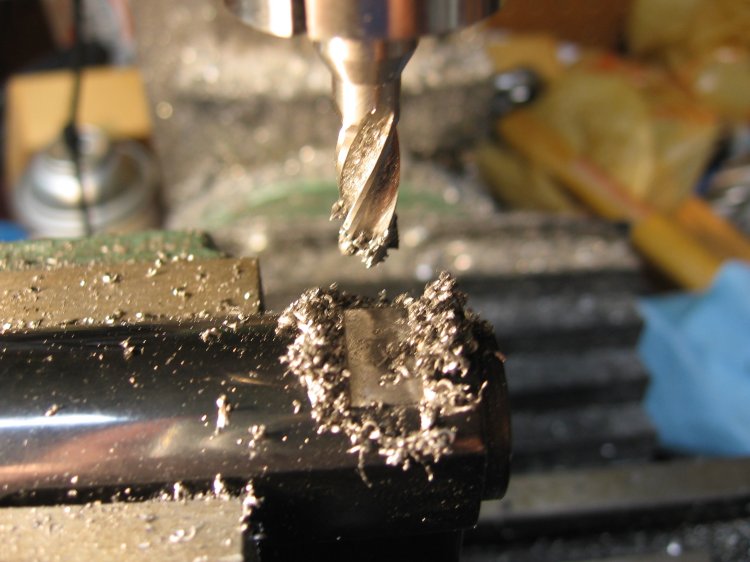
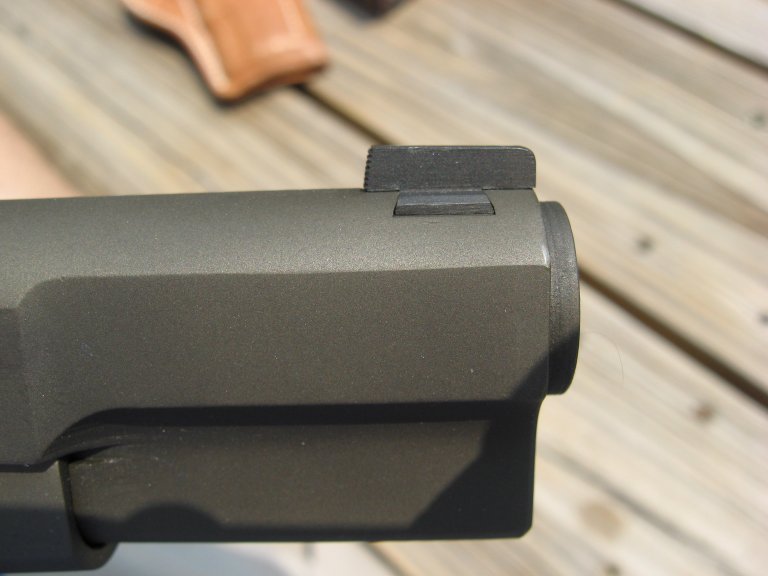
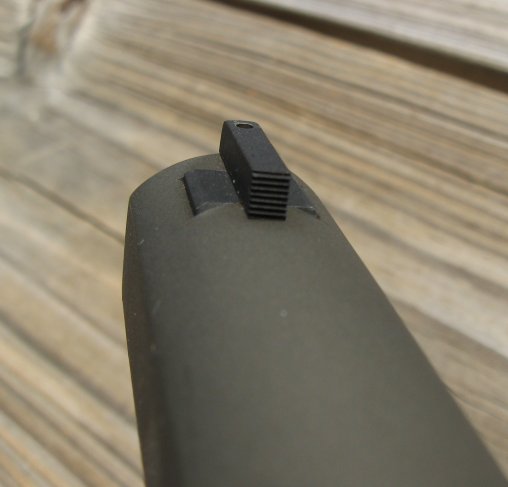
To cure the low-and-left problem and to increase visibility, I installed Novaks. I had to shoot and file the front sight a couple times before I had it shooting where I needed.

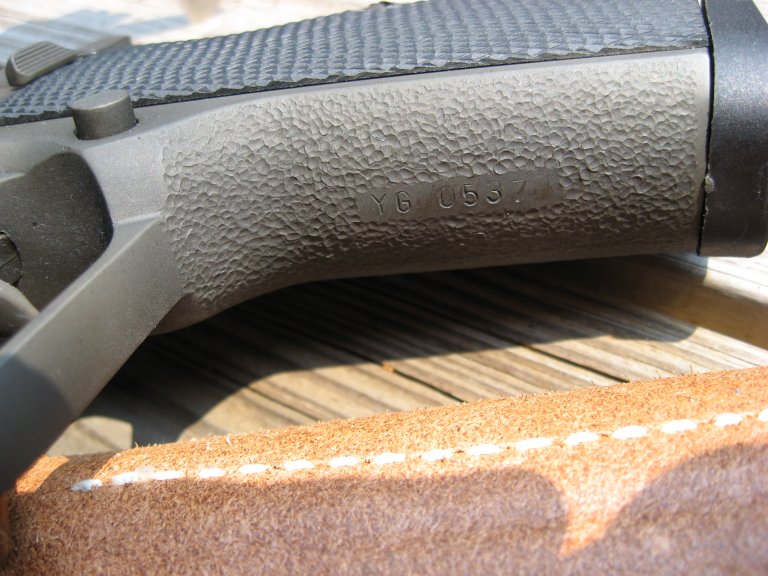
I've stippled several guns in the past and felt that would be a great treatment for this gun. However, the frontstrap was thin enough that I didn't dare do the deep prick punch stippling I'd usually done. I did a shallower, gentler pattern this time.
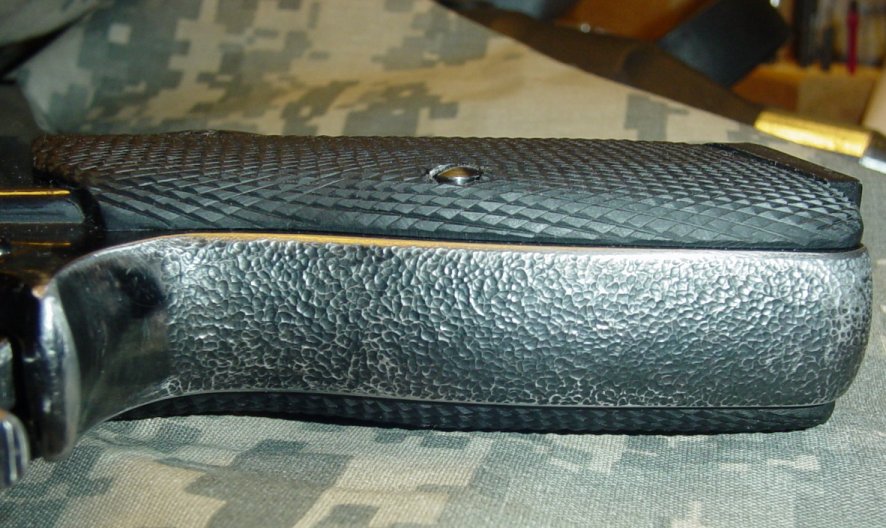
To replace the tired-looking 70's era Browning grips, I selected a pair of Navidrex thin Micarta grips. They were a bit loose, so I used Acraglas epoxy on the inside of the grip panels to custom fit them to the gun.
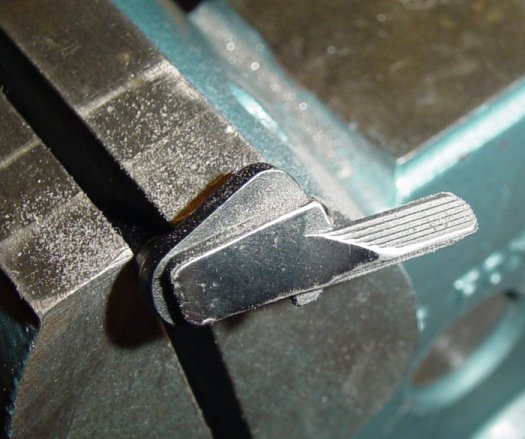
The last thing was a general carry bevel of the entire gun. This didn't take long because only a few sharp edges were present. This is a shot of the thumb safety getting softened a bit.
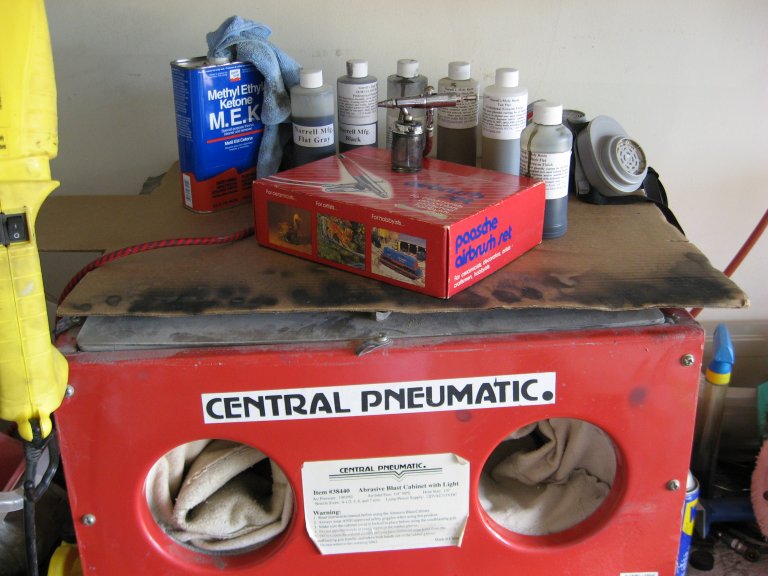
For a finish, I'd decided on Norrell's gray-black matte moly resin. This is a very dark gray with something of a greenish tint, and it resembles old parkerizing very closely. I used abrasive blasting media to give it something to stick to, and then applied it with an airbrush. This is a shot of my blasting cabinet and airbrush.
Finally, the finished product:
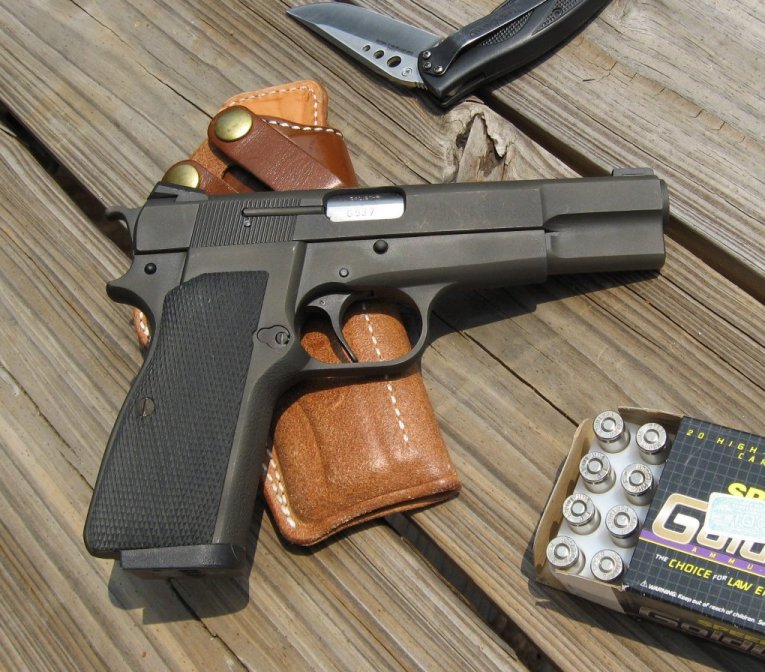
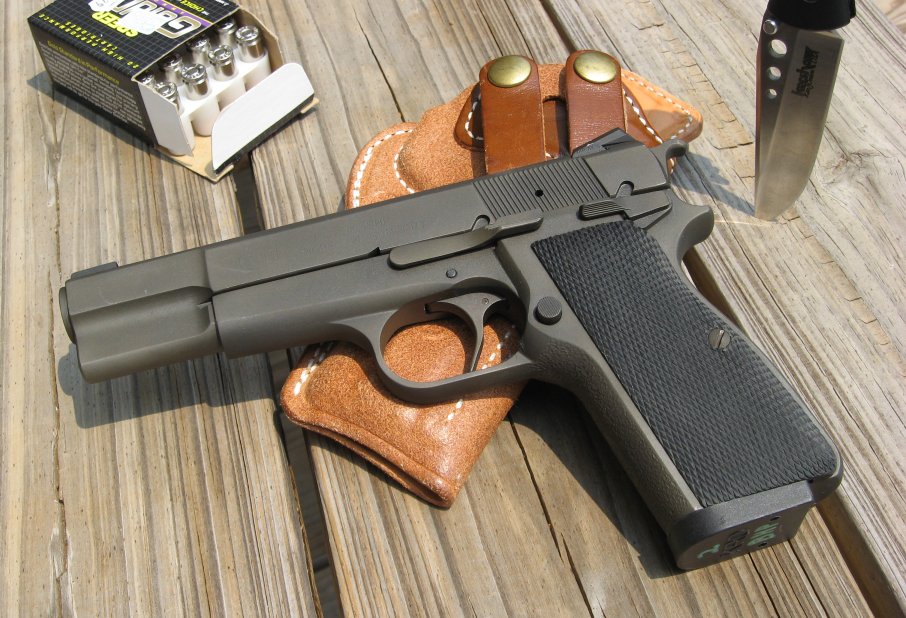
At long last, it can begin earning its keep at the range.